Flipbooks
Use printable images from our time-lapse movies to make flipbooks—handheld animations that you can make at home.
What is it?
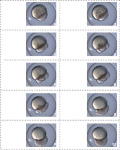
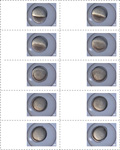
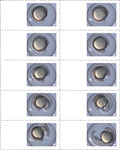
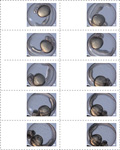
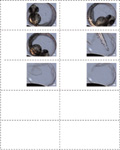
This series of images depicts the
first 48 hours of zebrafish development
, starting at a single cell and ending as a hatched young fish. If you look carefully at individual pages, you will see cell division (pages 1-10), development of eyes and other organs (starting at page 21), and development of muscles and pigment (starting at page 28).
Try This
Make a flipbook of zebrafish development
Materials
-
You will need:
- 5 sheets of stiff 8.5 x 11 inch computer printer paper (cardstock or heavy photo paper work well)
- a computer printer that will accept the heavy paper
- a medium-sized binder clip
- scissors
What to do
 Download flipbook pages:
ALL (.zip, 1.37MB)
or
Single PDFS:
Page 1 (1MB)| Page 2 (1MB)| Page 3 (1MB)
Page 4 (1MB)| Page 5 (1MB)
 Download Instructions
(as necessary) (.doc)
 Print each of the 5 PDF pages onto a sheet of 8.5 x 11" heavy paper (the files are in color, but you can print them in black and white, too).
 Cut the flipbook pages on the dotted lines, including the blank pages on page 5. (Tip: To save time, cut the edges off of each sheet first; then cut down the center line, stack the two halves on top of each other, and cut out the individual "frames").
 Stack the pages in order; add at least 5 blank pages to the end (this helps the book "flip" well).
 Tap the stack of pages on a tabletop to make sure the right hand sides are lined up.
 Clip Use the binder clip on the left side of the stack to hold your book together.
 Flip!
Flip!


 Download Instructions
